Wednesday 19 July 2017

Virtual buildathon is back


Chertsey Radio Club Buildathon 2017


Diplexer for 144 & 430 Mhz


  Welcome to the Chertsey Radio Club second buildathon.  This project, though   simple, does present some constructional challenges. The kit contains mainly surface mount components (known as SMD's), which are extremely small and easily lost or incorrectly identified.  Below is a list of essential items you will need to build the kit.

A clear well lit work area
18-25w soldering iron with fine or needle tip.
60/40  Resin cored electronics solder for SMA connectors
Surface Mount Device Solder (Available Online)
Blue Tac or White Tac to fix the PCB  in place when soldering
A pair of fine tweezers to hold SMD's
A good magnifying glass or jewellers loop
Set of Helping Hands or small clamp  (when soldering SMA connector)
Multimeter to check continuity

  Surface mount solder is essential. It will be extremely difficult to build this kit without it.  It is a grey paste, usually supplied in a syringe and contains a mix of powdered 60/40 lead solder mixed with a sticky flux. The advantage of this will quickly become apparent as the SMD contact pads on the PCB are not big enough to work with solder wire. This way the solder can be applied in advance, and will only require a touch from the iron for the component to take.


 The diplexer is rated with a peak power handling of 10w.  
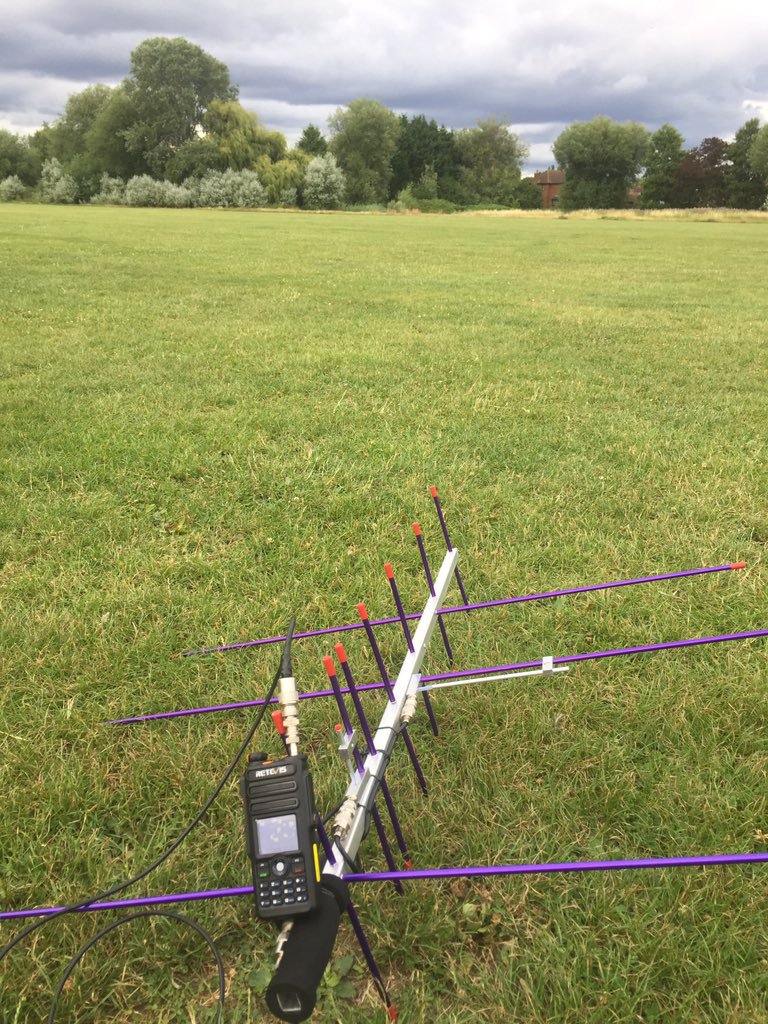
It is ideal for use for use    with small yagi type antennas and for satellite work.  


Notice the board in the middle of the picture....
Kits ready to be shipped out


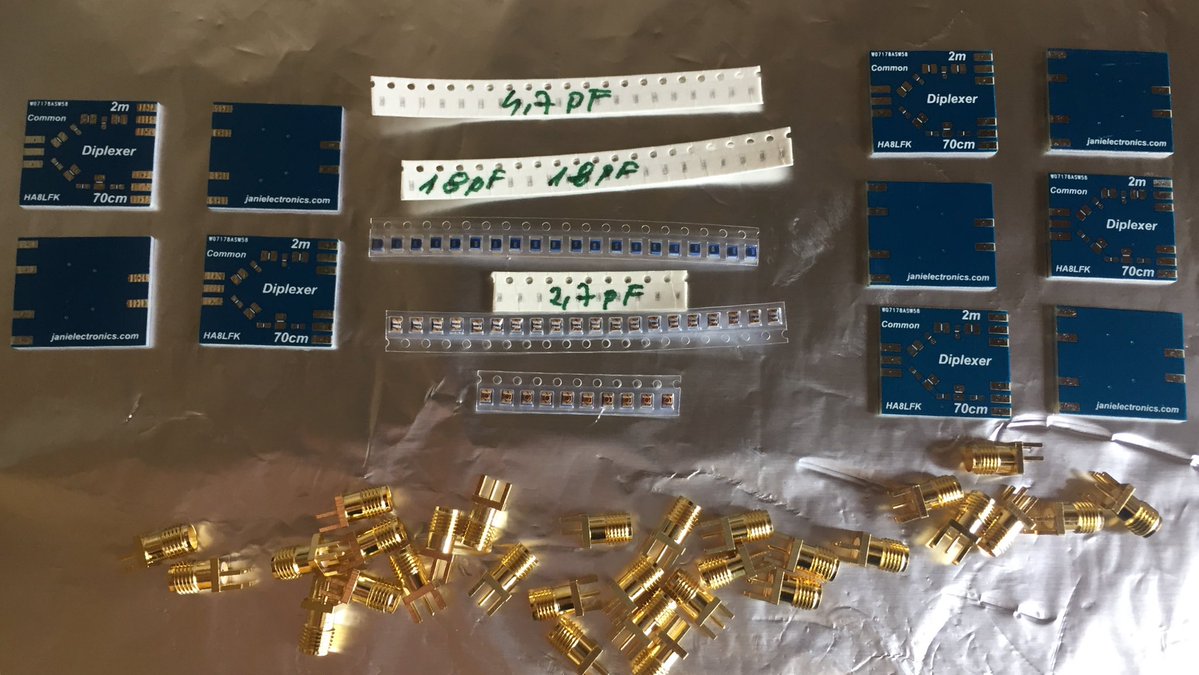
Here are the first 10 Kits ready to be shipped out.

Macro shots of the SMA connectors


Macro of the tiny inductor compared to a UK 5P coin !

Marco of the PC Board.

Another macro of the Inductor next to a UK 5 Pence coin.

Sunday 16 July 2017

Setting up raspberry pi 3 and QSSTV latest 9.2.4 GB8SSD special update / ARISS 20 anniversary

You need an external usb sound card

Next set up alsa mixer and increase the microphone gain!

In a command line window type:
Sudo alsamixer

Press the F6 key to select sound card

Choose the usb sound card using up and down arrow keys and press enter.

Use arrow right key to select Mic, use up arrow to increase to about 52.

Press escape key to return to command line

To install QSSTV type:

sudo apt-get install g++ libfftw3-dev qt5-default libpulse-dev
sudo apt-get install hamlib-dev libasound-dev  libv4l-dev
sudo apt-get install libopenjp2-7 libopenjp2-7-dev

Next download and install QSSTV

mkdir downloads
cd downloads
wget http://users.telenet.be/on4qz/qsstv/downloads/qsstv_9.2.4.tar.gz
tar -xvzf qsstv_9.2.4.tar.gz
cd qsstv_9.2.4
qmake
make
sudo make install

You can now run the program by typing qsstv at the prompt of a terminal session, or make a short cut on your desktop.
qsstv


Click on configuration


Click on sound and copy the above settings
Input and output set to your usb sound card.
Set the sound to alsa.
Plug an external microphone into the sound card. Turn up your radio and watch your pictures get decoded.
Space station is 145.800 fm
However 14.230 upper side band is more regular broadcast.
You can also hold the microphone near a sstv recording or YouTube video.

Have fun let me know how you get on!


We were really happy to hear from Lee DV8BVK:
"Hello Chertsey Radio Club,
My name is Lee, DV8BVK here in the Philippines. I am very thankful of your article/blog re install of QSSTV to Raspberry Pi 3 with the USB sound card. I followed all the instruction and put it to the test last july 22,2017 of the ARISS SSTV event. Thank you very much. "


RETEVIS RT-82 testing on Satellites in the UK