We had a great time tonight with the 6th Staines Scout troop and were lucky enough to get 40 children on the air using the GB16YOTA call sign. This is a great step towards gaining their communication badges. Also raising awareness of Amateur Radio many seemed keen to follow up and get their first license.
Are you ready to join Chertsey radio club in their pioneering Virtual Build-a-thon?
Join our club on line each week via video conference and to build a long side our resident expert Bob M6FLT, with support from Kanga Products.
Become part of our virtual community, you simple need the kit, your soldering iron and usual work bench kit and bring your computer, tablet, mobile phone or laptop.
Using either Skype or Webex we will present each week for about 30 minutes showing you the next stage of building the project. You can then ask questions and show us how you are getting on.
We hope to make the very best use of the technology we have at our disposal to make this a fun and fully interactive event as if you were there in the room with us.
More information and a chance to vote of which kit you would be most interested in will be put on line soon.
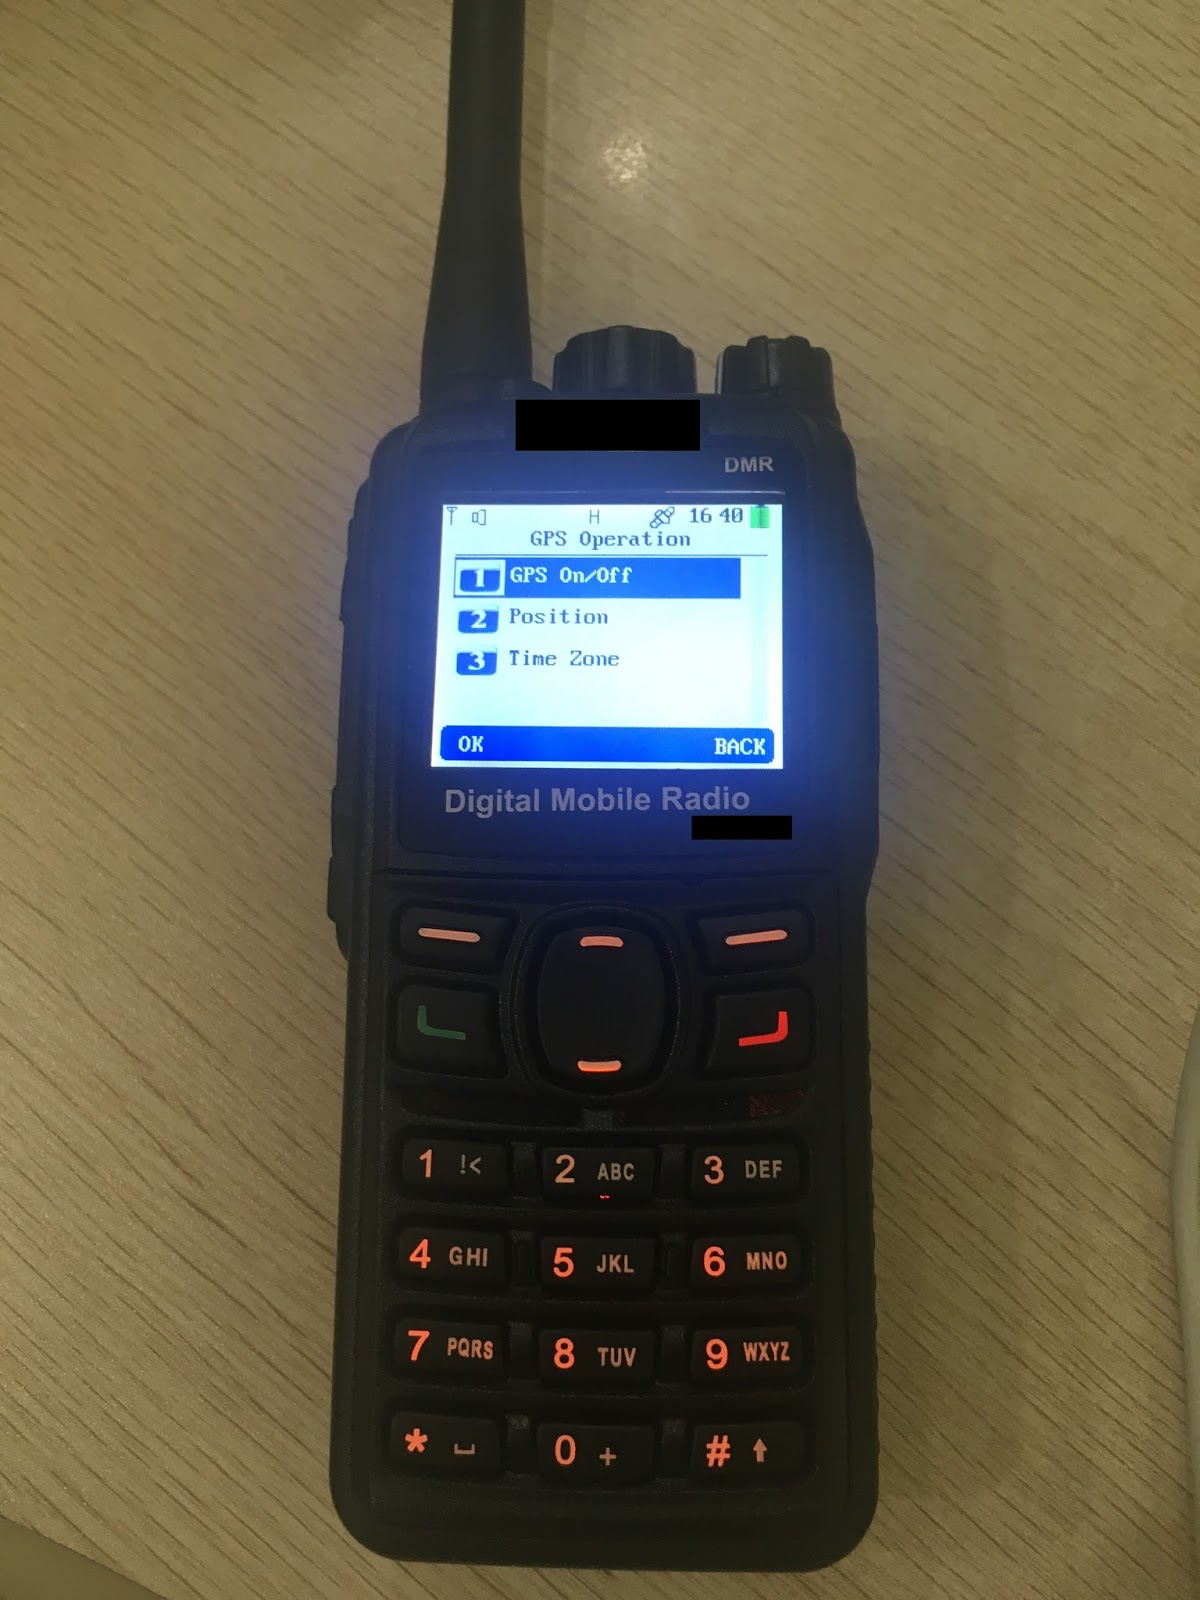
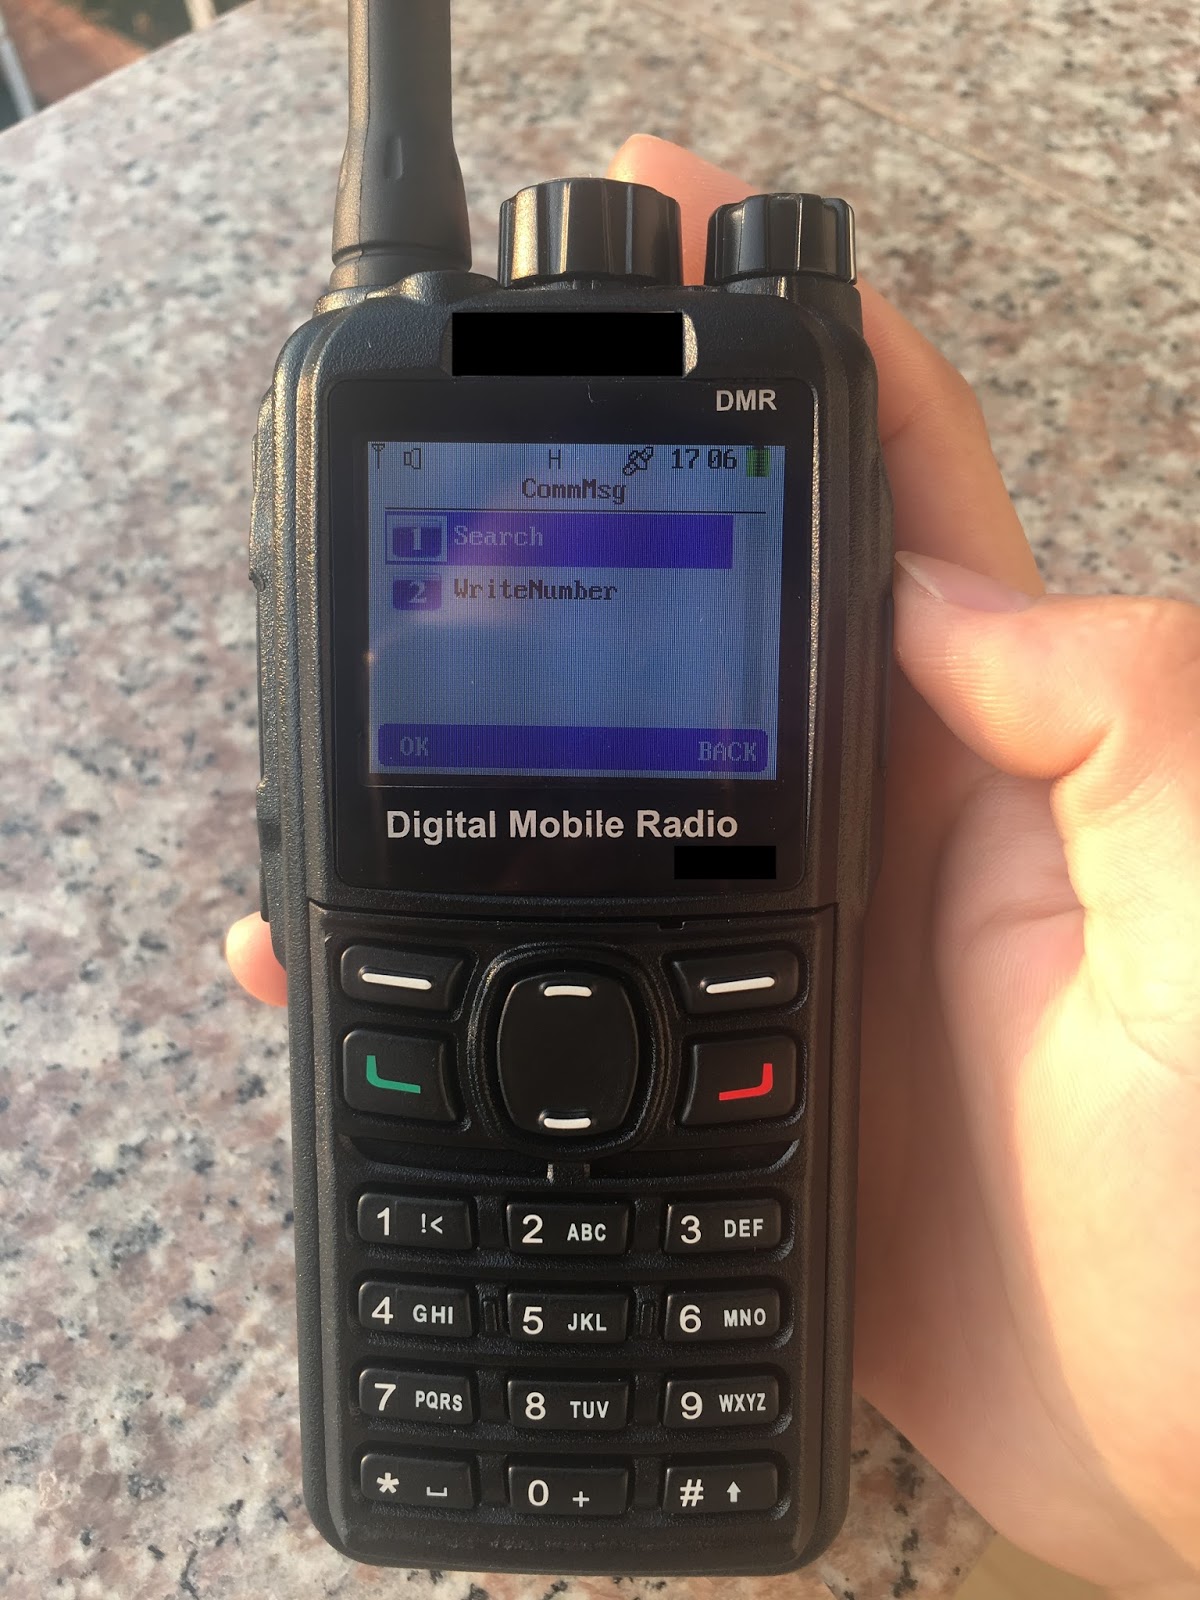
GPS Position Reporting. Among other features, DMR supports GPS position reporting. This was created for the Part 90 world, not ham radio. There is no provision for sending your ham radio call sign along with your position report so unlike with APRS, Part 97 ID requirements are not being met if your radio is making periodic position reports and you are otherwise not conversing and saying your call sign at the required times. Please take this into consideration if you activate GPS position reporting in your DMR radio and take action to stay in compliance.
Each DMR radio vendor has their own format for GPS position reporting. This is not an issue for Motorola, Hytera, and Tytera GPS-equipped radios because BrandMeister can pass your report to the dstar.su server for formatting and transfer to APRS. Step 1 is common to all three brands, setting up your call sign, SSID, and symbol that you want to appear on APRS.
You need to register and this can take a few hours or up to a day to happen. Step 1: Go to the dstar.su self-care web page https://www.dstar.su/selfcare/ and register. Once you are on the main self-care page, select Ham DMR. They need to know your radio brand, position reporting interval, desired SSID to go with your call sign, APRS symbol, and DMR Radio ID. If you are not experienced with APRS, we suggest an interval no less than every 3 minutes and just your call sign without dash anything.
Once registered and set up you should be able to send GPS data to ID 5057
Some radios allow auto send every X minutes others allow you to send your position via a text. Both seem to work well on BM network.
You can also send and receive messages over APRS by sending a text to 5057
Call sign ssid message
Note capitals for call sign
E.g
2E1AVX hello James
Or
M0JFP-7 hello James
You can check if positioning and messaging is working by going to http://aprs.fi and typing in your call sign.
We had a few questions in recently about how DMR works in a real world situation and what the additional features do and how they can be used.
We set up a small Lab and did a bit of testing to show you what can be done and created a few short video examples.
Be aware upfront, these features can be added and removed from each individual radio by using the CSP programming software.
Basic configuration
We have set up 4 radios, one manager and 3 which are in different work groups.
A manager needs to be able to speak to each work group and each individual and call everyone if needed.A manager also has advanced features such as radio check, remote monitor and kill / retrieve.
Users can communicate in their own groups between each other, they can receive a call to the group and a call to everyone or a direct call. They can make a direct call to a user as well,
Basic Opperation
Here we show the manager calling each group in turn. each radio gets the message and logs a missed call. When you click on OK it shows who was calling you and you can respond back directly to them.
We then show the everyone call, where the manager radio calls to everyone and all radio's regardless of group will receive the transmission. They can respond direct, or change the channel on the radio to broadcast to every as well. Useful in urgent situations (fire alarm or other emergency)
Advanced features
In this first part we discuss radio detection, remote monitoring, kill and revive features.
Radio detection, simply sends a digital signal to the destination radio to see if it is responsive.
You get either an OK or a fail. The remote radio user is unaware of this request as nothing is seen on screen or heard.
Remote monitoring, sends a signal to the destination radio and forces it to key up the transmitter and transmit for 10 seconds. This allows you to hear what is happening on the remote users side.
Again this is not noticeable on the remote radio screen or audio, even the LED TX light stays green.
Kill and Revive, This is another digital signal sent to a specific radio ID and will render the radio useless, not able to TX or RX or get into the menu. Revive brings the radio back to functioning as expected.
SMS / Text Messaging
DMR allows up to 32 characters to be sent as a text message between radios.
Just like your mobile phone this can be really useful when a voice contact is not required.
You can share quick updates, request a phone call or share an e-mail address, or deliver address / next call.
Text messages can be sent from one to one, one to group or one to everyone
The video demonstrates one to all message being sent and also one to one.
Emergency Alarm DMR feature
Here we have a quick demonstration of the emergency alarm feature.
We have set this up to be as loud as possible on both radios.
Note the sending radio can be set to stay quiet (I'm in danger, enemy is close, need help) but don't want your radio making any noise.
2 Radios one in the Reception group and one in the Cleaner group.
Pressing and holding the button on the side for 1 second activates the alarm, all radios in range will see the red alert message and the DMR ID of the radio sending the message
The screen flashes between channel red alert and User ID
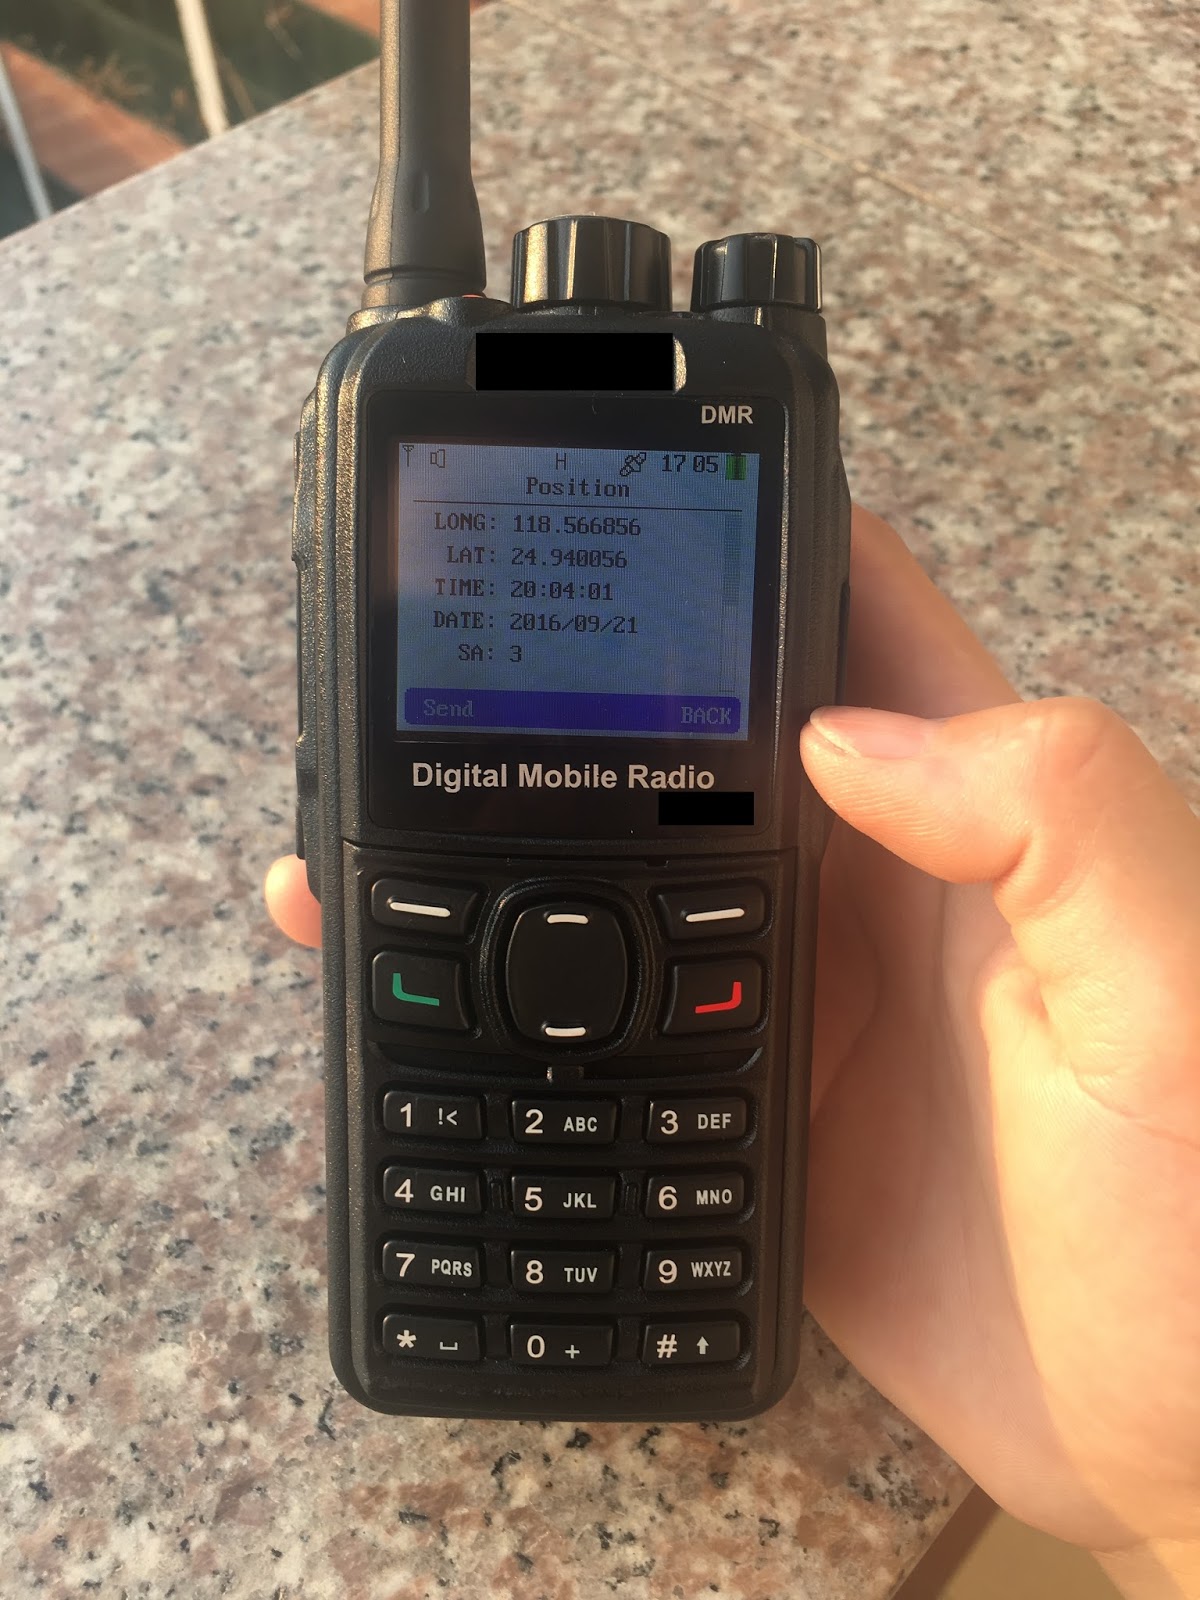
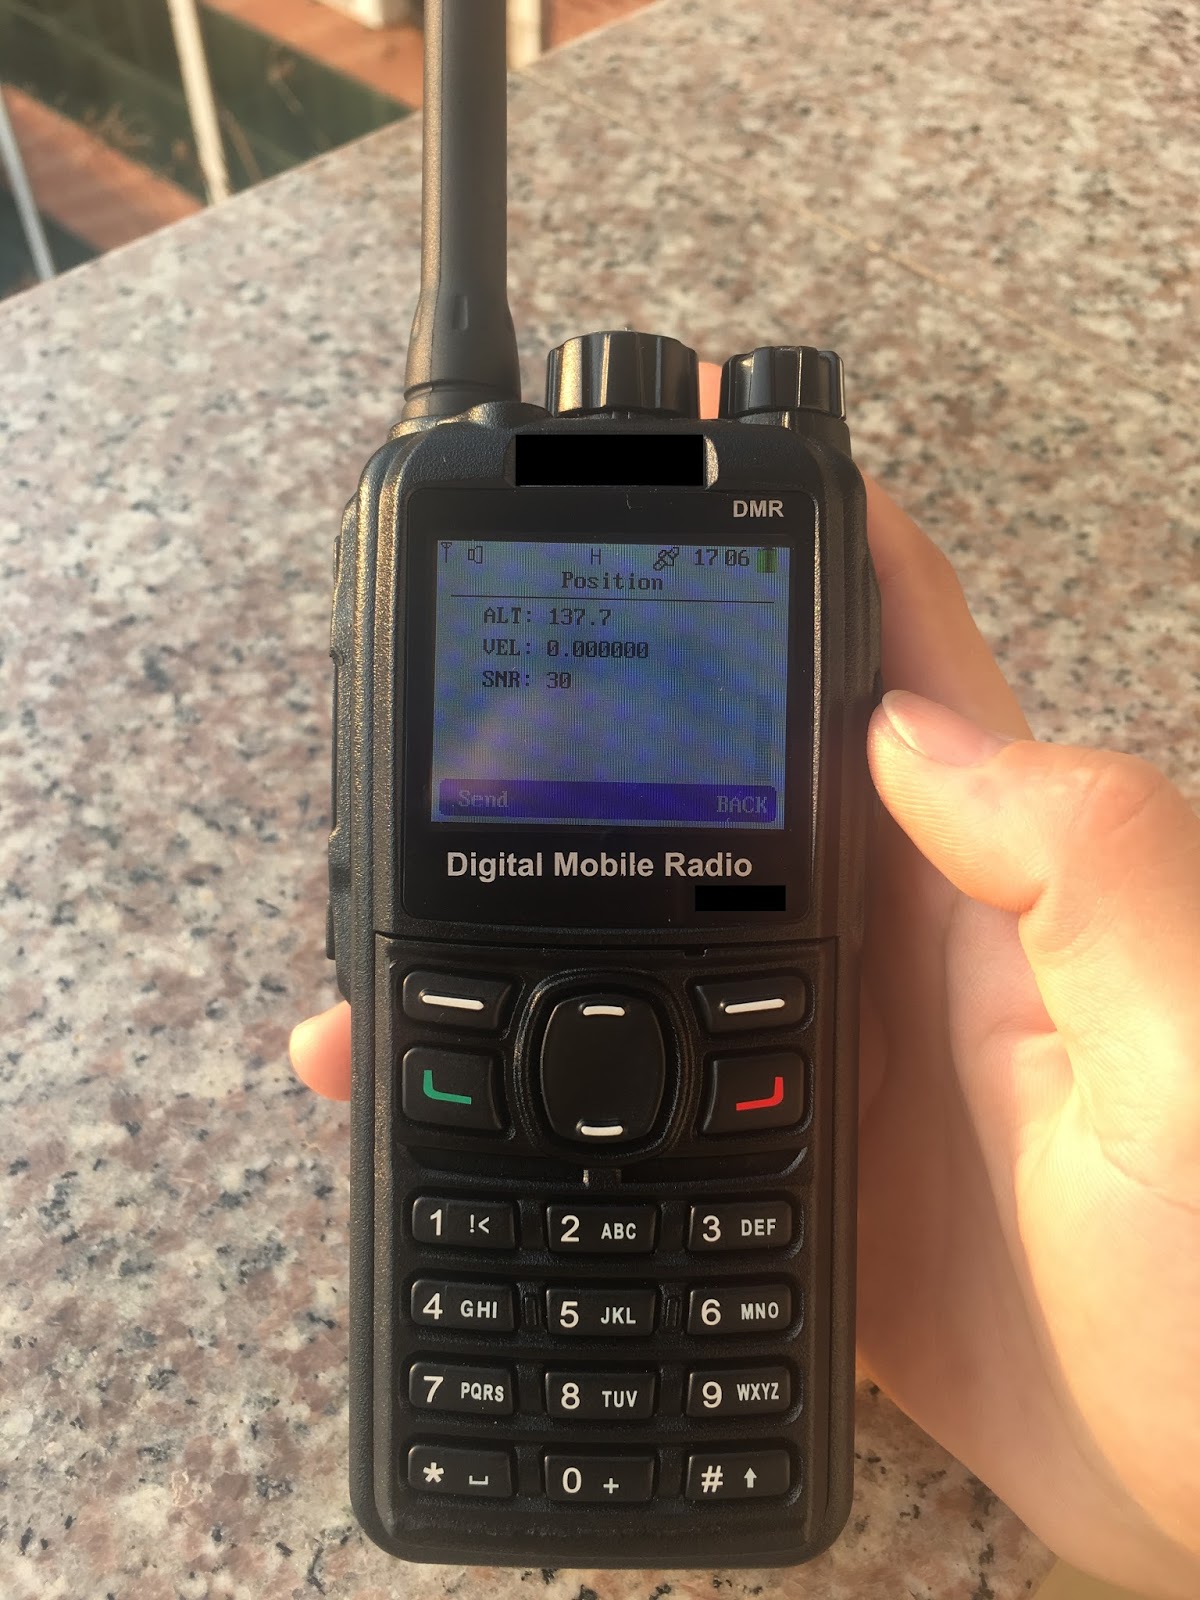
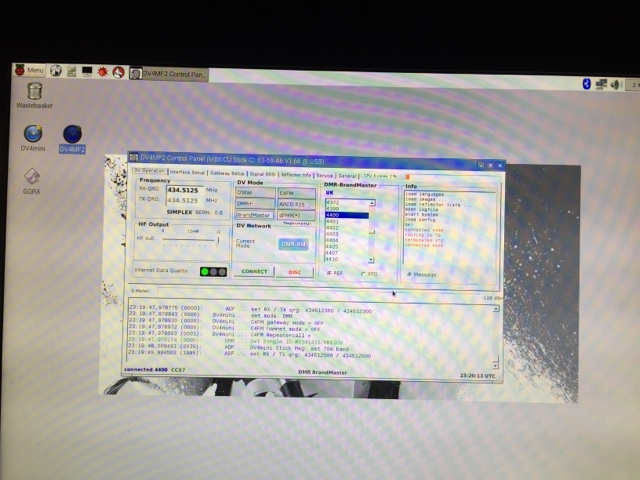
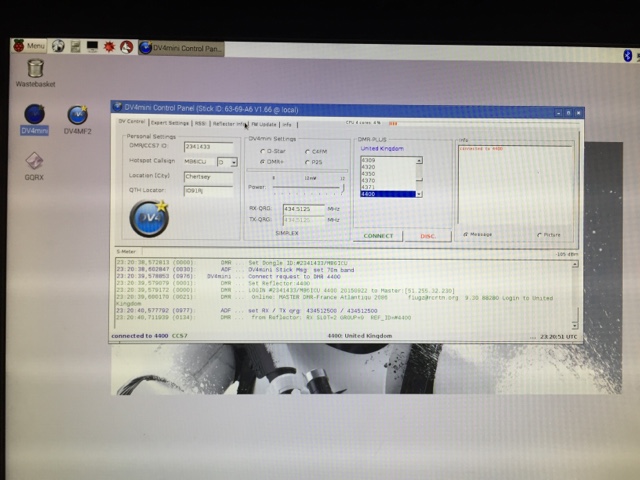
GPS Set Up and use
Encryption
The last feature we will take a quick look at is the aility to encrypt you voice and data.
We use a free piece of software called DSD Plus, this will happily decode DMR signals which are not encrypted.
First video shows a simple test decode (no encryption
Our Second video is after the encryption is set up on the radio (very simple) and all you hear is noise.